Overview
This article provides step-by-step instructions on how to configure Application section using Delegated permissions for Group Calendar product on OfficePlace to facilitate Single Sign-On (via Azure AD), as well as authorized search and synchronization operations with Exchange Online. The Application section can be found within your Organization under Organization Management, e.g.: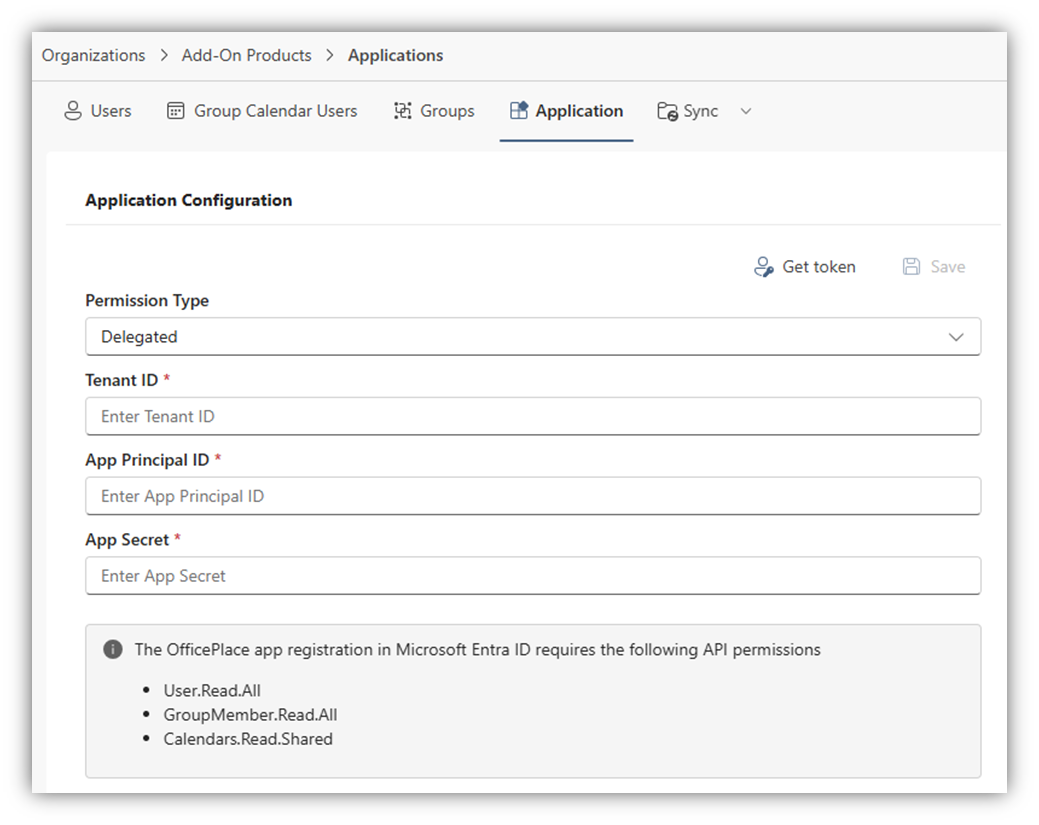
Step-by-step instructions
Step 1: Register app in Azure AD
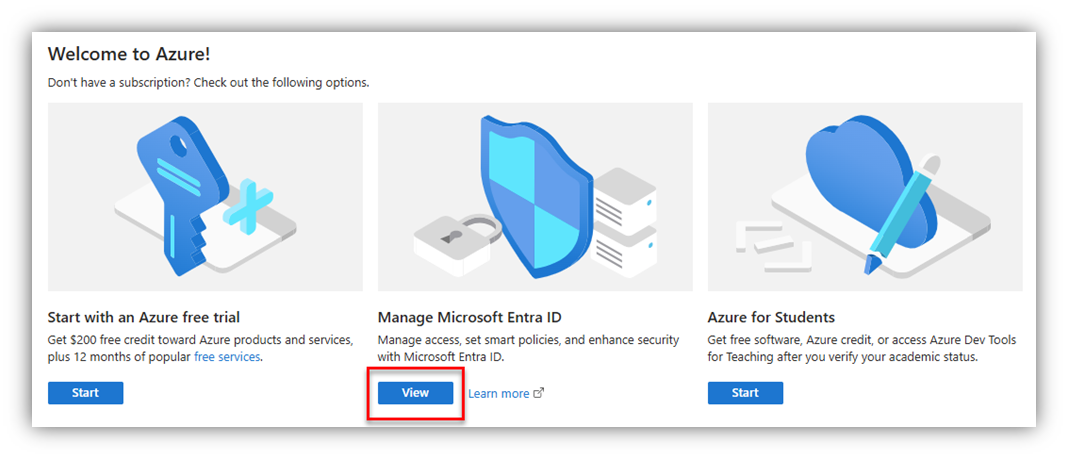
- Navigate to Azure portal ® Manage Microsoft Entra ID ® App registrations and click [New registration].
- Enter the application Name and select ‘Single tenant only - …’ in Supported account types section.
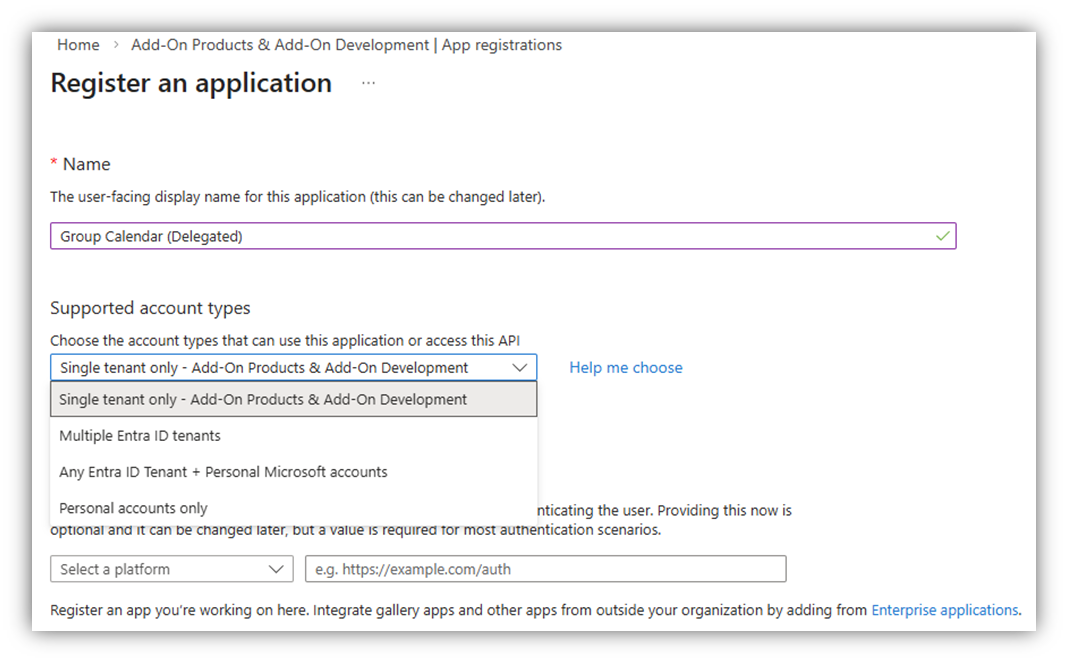
- Click [Register] button at the bottom of the screen. Your app will then be created in your Azure tenant.
Step 2: Configure Authentication tokens in Azure AD
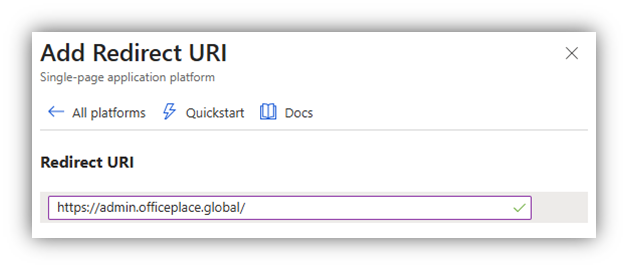
Next, click on [Authentication (Preview)] section, as in the bellow figure, click [Add Redirect URI], a right panel of Select a platform will appear:

Select [Single-page application], and the following screen will appear. You are required to complete Redirect URIs and Implicit grant and hybrid flows fields.
- Redirect URIs: Enter the URL of OfficePlace, for which you are configuring the application. (https://admin.officeplace.global/)
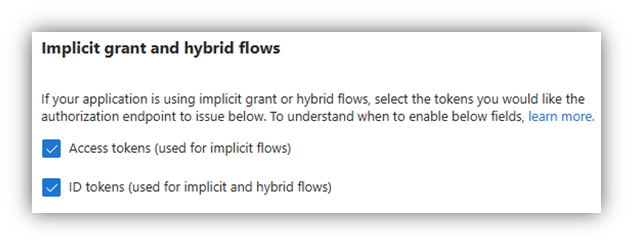
- In the Implicit grant and hybrid flows field, check on both [Access tokens] and [ID tokens].
Click [Configure] to switch to the next step.
Step 3: Configure API permissions in Azure AD
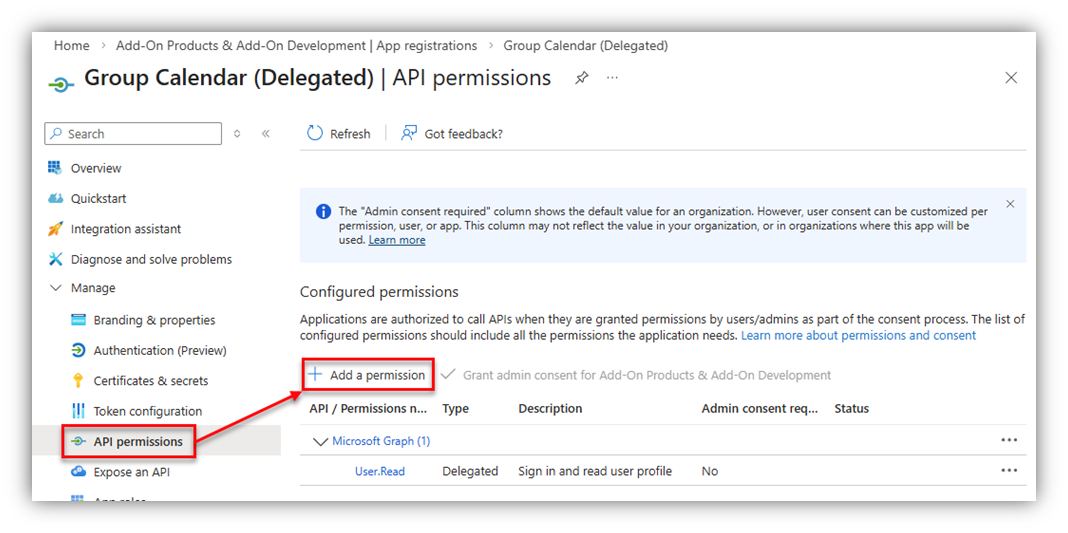
On your Azure app, go to API permissions then click [Add a permission]:
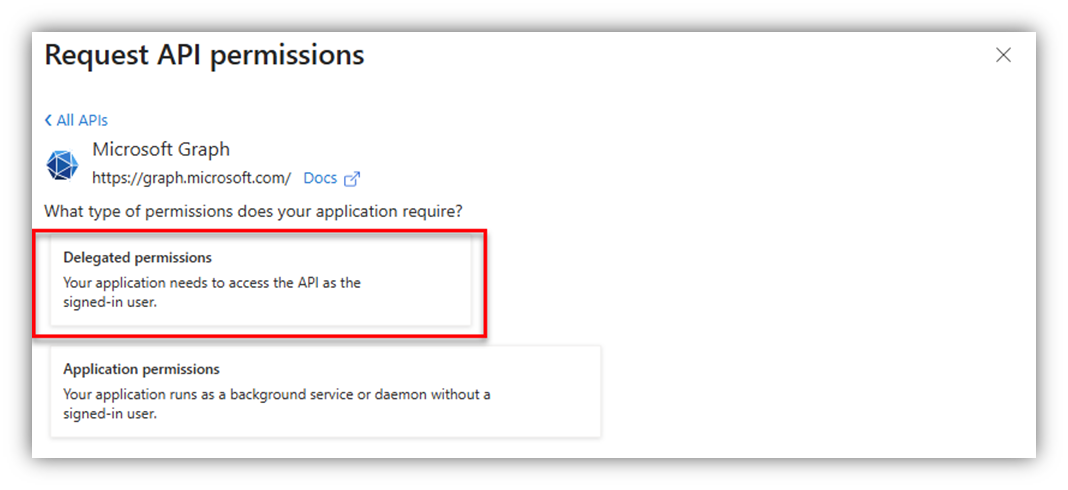
After that, the Request API permissions screen will appear, in which you select Microsoft APIs ® Microsoft Graph ® Delegated permissions: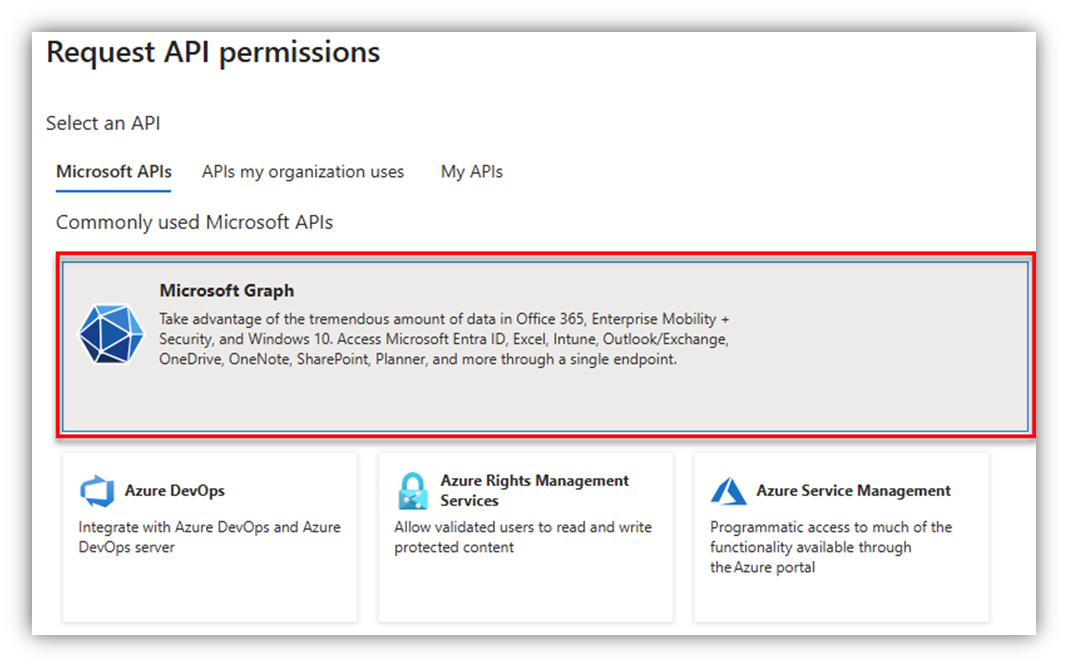
Search and add the required permissions:
- Calendars.Read.Shared
- User.Read.All
- GroupMember.Read.All
Once you are done, click [Grant admin consent for …] to apply the added permissions. The result should look similar as follows: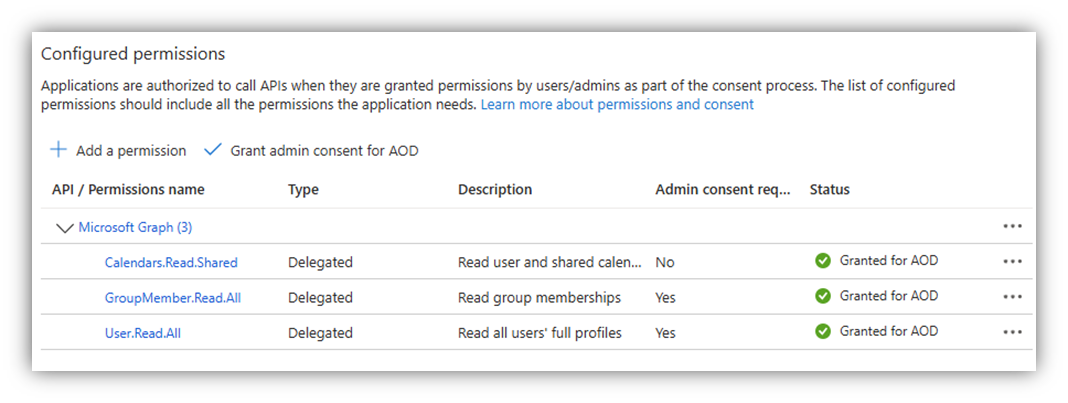
Step 4: Retrieve details from app
Note: In this app, you need to retrieve the values of Tenant ID, App principal ID, and App Secret. Remember to copy them elsewhere for future usage.
In this step, click Overview tab of your application to retrieve the necessary details. You can also find Overview by accessing Azure portal ® Manage Microsoft Entra ID ® App registrations. Click [All applications] then search for and select your app ® select tab Overview.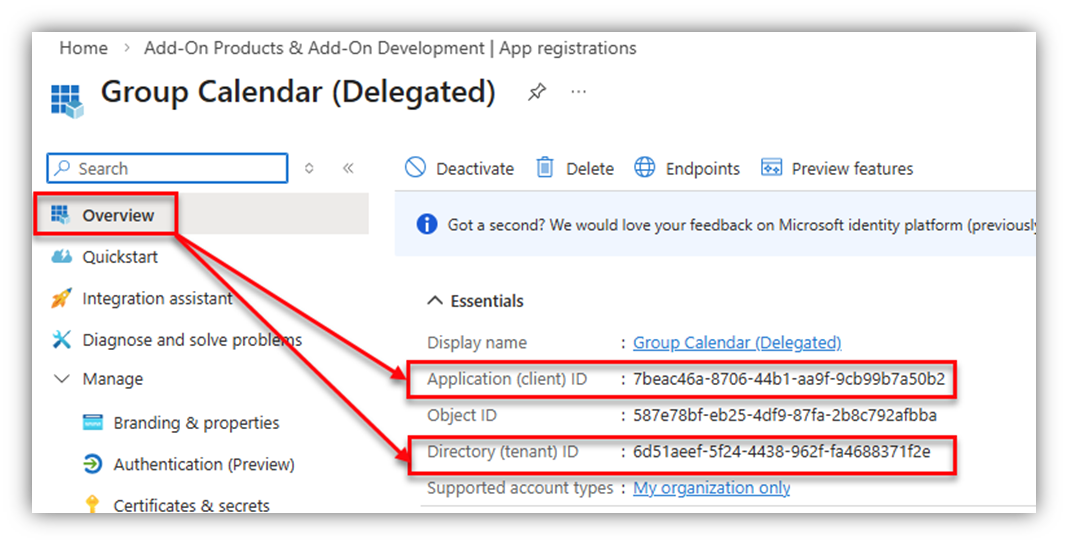
In this screen, you can see a list of Essentials, in which you can get:
- Tenant ID: retrieved from Directory (Tenant) ID section.
- App principal ID: retrieved from Application (Client) ID section.
Next, click [Certificates & secrets] ® [Client Secret].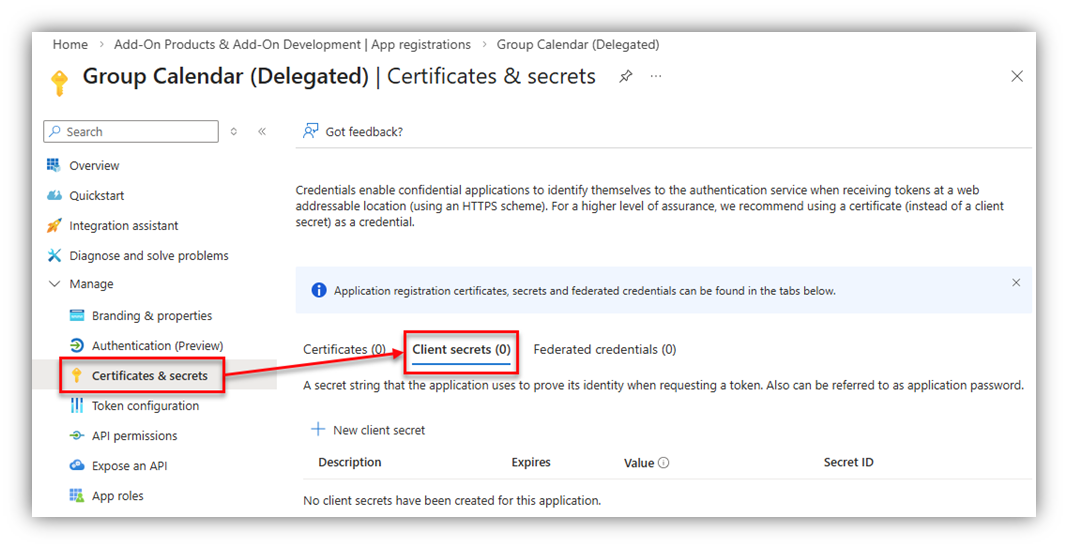
Choose [New client secret], a screen will appear as below:
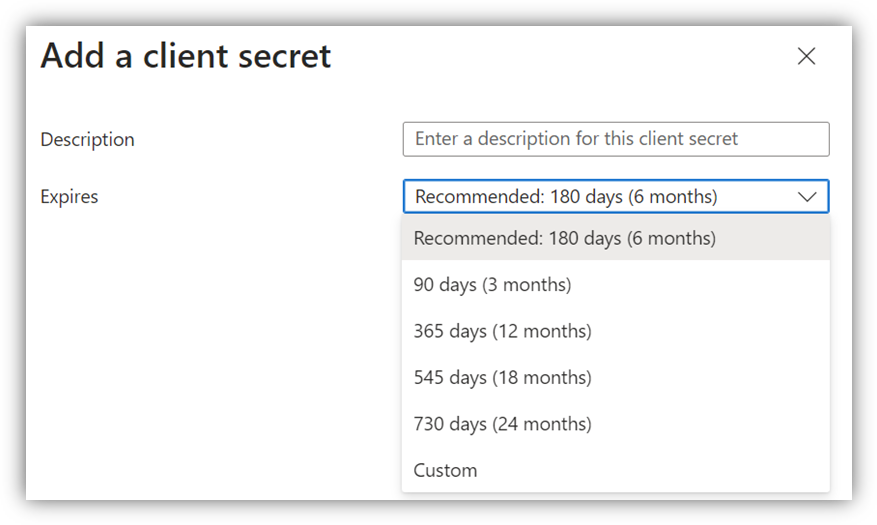
Enter Description, select Expires time, then click [Add] button. The Value and Secret ID columns will be inserted:
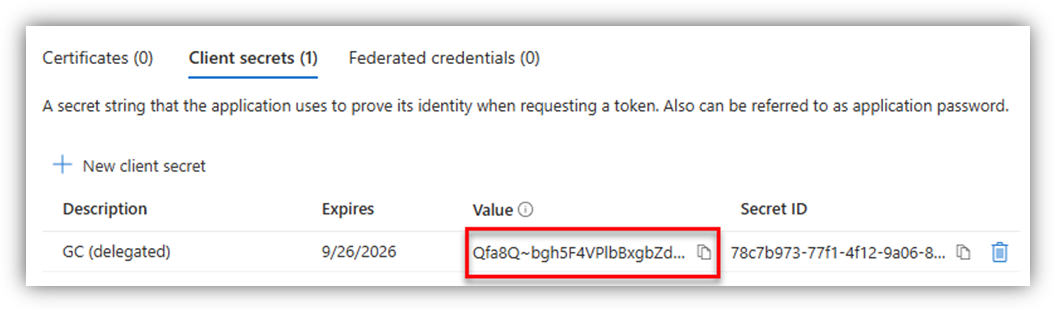
Here, you can get:
- App Secret: retrieved from Secret’s Value.
Note:
1. Remember to copy the client secret value from the Azure app immediately after adding a client secret because it will be hidden the next time you open the app’s Certificates & secrets page.
2. When the secret is going to expire, remember to create a new secret, and use its Value to replace the expired one.
Properties
Applies to: OfficePlace and Group Calendar
Reference: TFS #461721
Knowledge base ID: 0351
Last updated: Apr 08, 2026
Was this article helpful?
That’s Great!
Thank you for your feedback
Sorry! We couldn't be helpful
Thank you for your feedback
Feedback sent
We appreciate your effort and will try to fix the article