Overview
This knowledge base article provides guidance on what you need to prepare for OfficePlace Connect in SaaS environment.
Preparation
OfficePlace Back-end Configurations
Preresquisite
- Customer information for creation of the customer tenant in OfficePlace has been delivered to Add-On Products, who will inform you when the access has been granted.
- Please verify that the Resource Central license is active and valid for your OfficePlace tenant.
Step 1: Login to OfficePlace
Begin by launching your web browser and entering the URL of the web server hosting OfficePlace in the address bar: https://admin.officeplace.global/
This will display the OfficePlace login screen as shown below: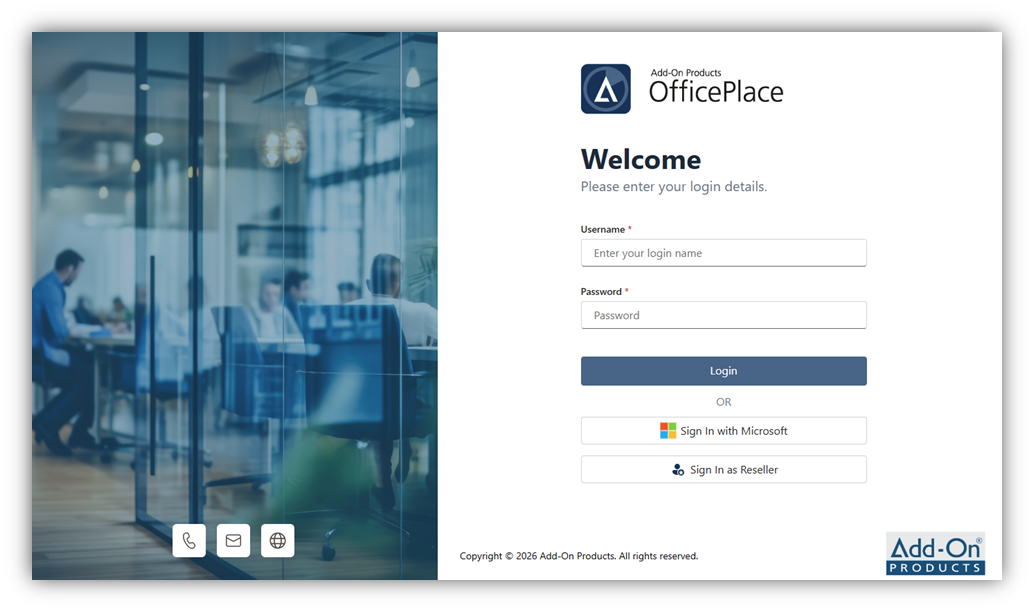
Then, log in with your user account credentials provided, which have been assigned the appropriate permissions to access the required sections by Add-On Products. You will then be directed to the Organization Management section where you can view and manage the organizations you belong to, provided you have the appropriate permissions.
Step 2: Configure Entra Applications for Organization
Navigate to the Organization Management section and open the created organization. E.g.: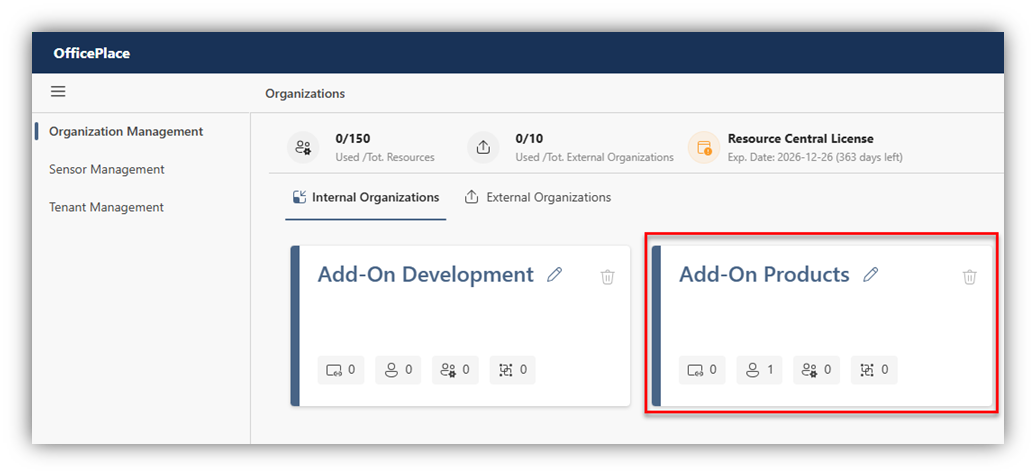
In your organization, you can configure settings to enable the connection to Azure AD / Exchange Online data for resources and users under the Application tab. The application configurations are necessary to sync data between the Organization and Azure AD / Exchange Online.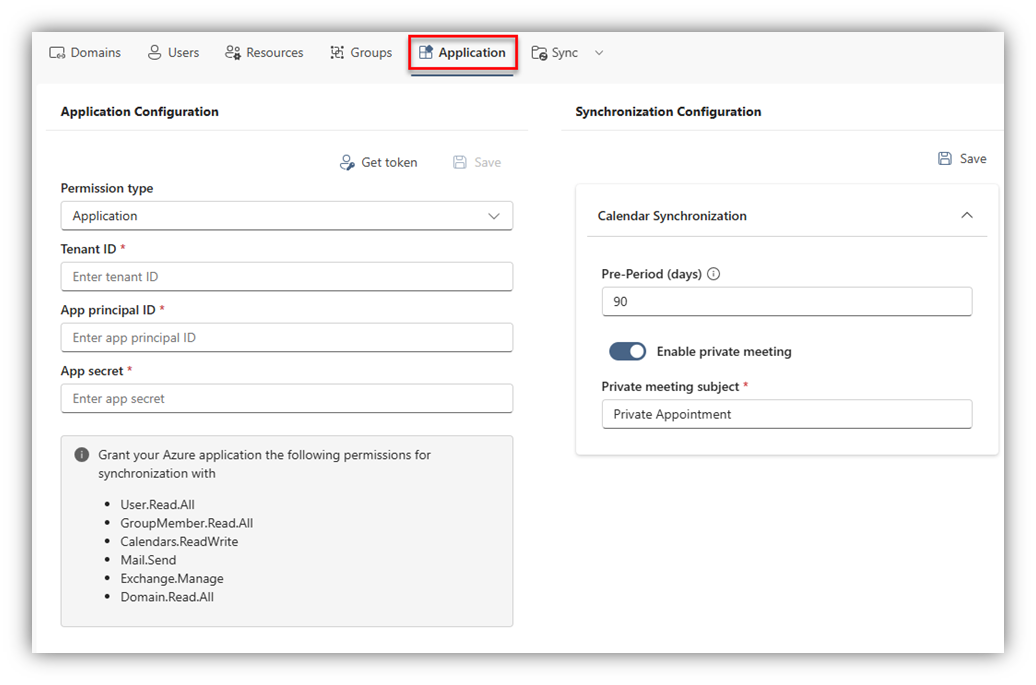
The Application Configuration section must be configured by selecting one of the two Permission types that will enable the ability of searching and synchronizing of identity information for users, resources, and groups, as well as calendar details between Entra ID / Exchange Online and your Organization. There are two permission types:
Permission Type | Description |
Delegated | Delegated permissions are granted to an application on behalf of a user. These permissions allow the application to act as the signed-in user, accessing data and resources based on what that user is allowed to do. Refer to this KnowledgeBase article - Azure Application Configuration for Delegated permission type for instructions on how to retrieve the details needed to fill in the fields. |
Application | Application permissions are granted directly to the application itself. These permissions allow the application to access resources or perform actions without the involvement of a user. Refer to this KnowledgeBase article - Azure Application Configuration for Application permission type for instructions on how to retrieve the details needed to fill in the fields. |
After filling in the required fields, you need to retrieve a token from the service account to ensure it has the necessary permissions to access the users, resources, and groups within the application. Click [Get token], and a pop-up window will appear. Enter the service account from your organization's Azure AD tenant to obtain an Access Token for accessing user and group identities, as well as resource calendar and mailbox. Refer to OfficePlace Administrator Guide – Appendix B to learn more about the requirements and rights needed for the service account used in this case. Once the account is authenticated and authorized, a message will display confirming that the token has been successfully retrieved from that account.
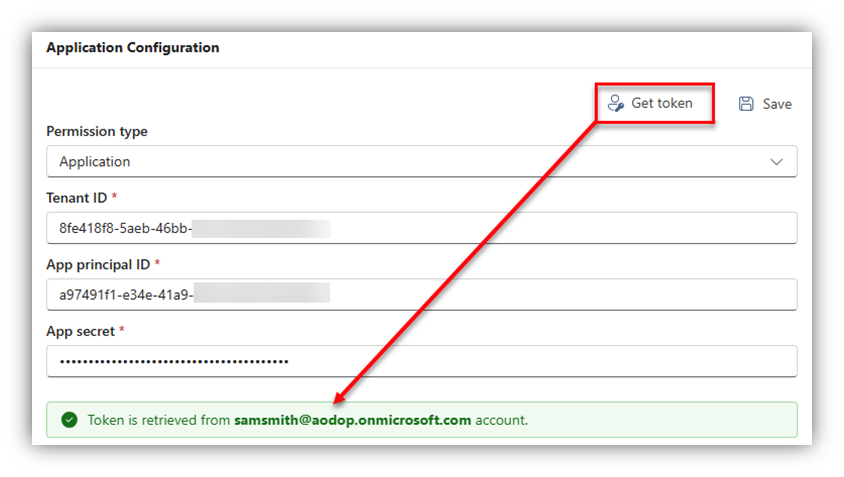
Click [Save] to save the configuration.
Step 3: Import resources to OfficePlace
After successfully configuring the Application tab, you can import groups of resources from Azure AD / EXO that are currently in use within Resource Central to OfficePlace.
To add new group(s) from Azure AD / EXO, click [Import] to open ‘Import groups’ screen. 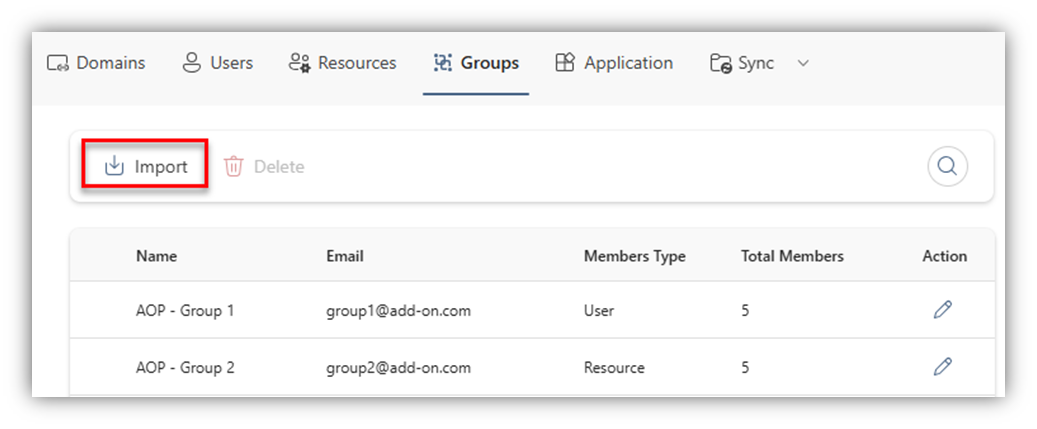
Here, you can enter their information in the search bar to find groups within your Azure Active Directory (Azure AD) or Exchange Online (EXO) tenant. Click [Next] and the confirmation screen will appear.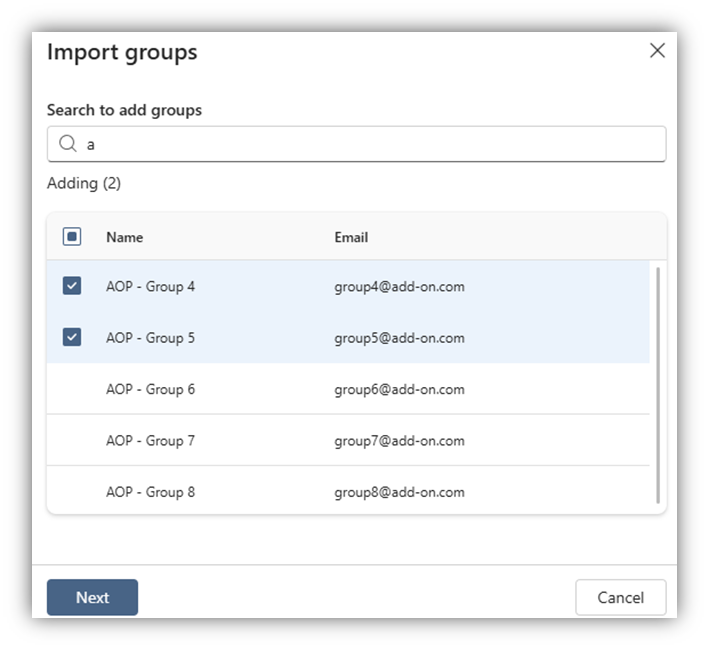
You can select the group type = ’Resource’ of the group by clicking the small arrow beside the group’s name. Click [Next] to finish.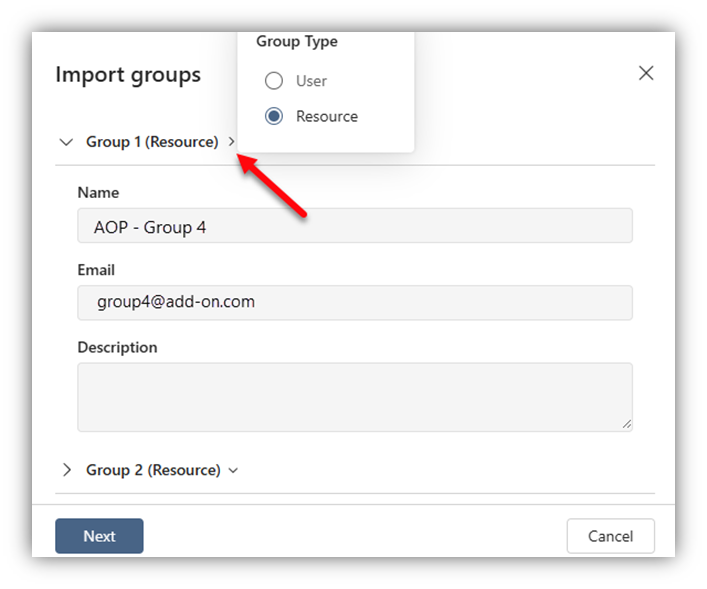
With this, both the group itself and its resources are added to the OfficePlace Organization. Click on the button  of a group to see its general information and list of members.
Important Note: After importing the resource groups into the OfficePlace system, OfficePlace will automatically trigger a full identity and calendar synchronization for them in the Sync tab.
After the full-syncing progress, check the "Sync Calendar" and ”Sync Identity” tabs to see whether the synchronization was successful for each resource.
- If the status of the resources is "Synced", you can proceed to the next step.
- If any resource shows an “Error”status (i.e.: resource not found or insufficient permissions), please take the following actions:
- Ensure the Entra application for organization has the correct permissions as guided in Step 2 and verify that the service account has the necessary permissions for the resources.
- Once the permissions are confirmed or adjusted, perform a full-sync for these resources again to attempt the synchronization. If the sync status of the resources is ”Synced”, you can proceed to the next step.
Properties
Applies to: OfficePlace and OfficePlace Connect
Reference: TFS #461329
Knowledge base ID: 0350
Last updated: Mar 23, 2026
Was this article helpful?
That’s Great!
Thank you for your feedback
Sorry! We couldn't be helpful
Thank you for your feedback
Feedback sent
We appreciate your effort and will try to fix the article