Overview
Role Based Access Control is a function in Resource Central (RC) that allows Azure users to log in the Resource Central without the need to create Persons in the system.
Requirements
This requires specific configuration in the Azure app in order to allow Azure users log in and get Roles in RC based on their setup in the Azure app.
This setup requires you to configure External Authentication in RC backend ➔ Authentication beforehand. Refer to RC Admin Guide for more details.
Azure App Configuration for RBAC
Go to Azure Portal ➔ Azure Active Directory ➔ App registrations, and open the Azure app that you created for external authentication to Resource Central. Then configure the followings:
API Permissions Configuration
On your Azure app, go to API permissions ➔ click [Add a permission] to open the following screen:

Select Microsoft Graph...
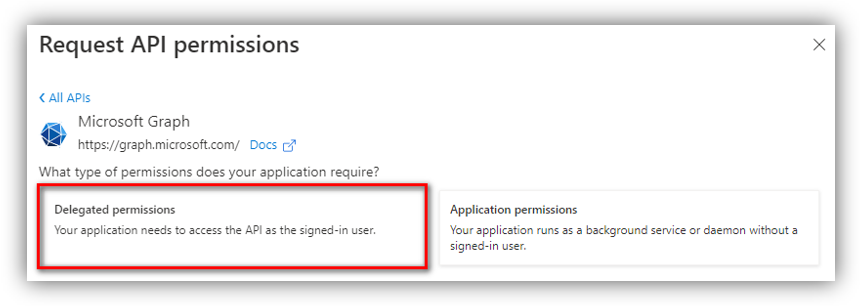
... Then select Delegated permissions.
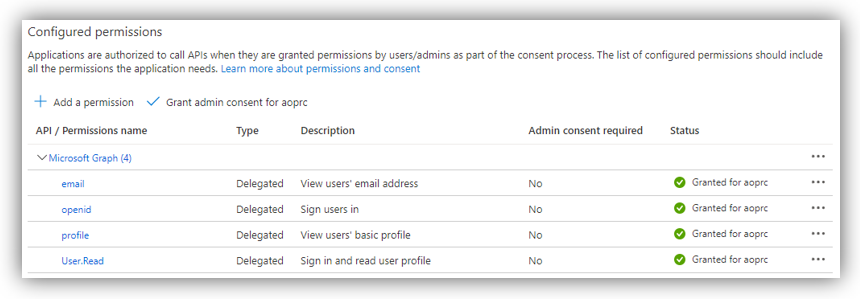
Next, search and add the following permissions:
- openid
- profile
- User.Read
Then [Grant admin consent] to the added permissions. The result should look similar as follows:
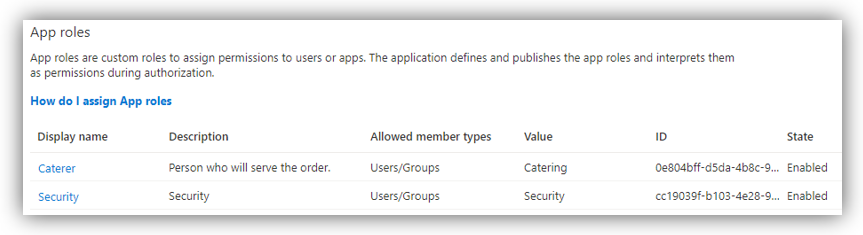
App Roles Configuration
On your Azure app, go to App roles. Here you can create app roles that match with their respective roles in Resource Central.
To be able to do the initial configuration of RBAC in Resource Central an App Role called SysAdmin must be created.
The following section will describe how to create an app role in detail.
To create a new app role, click [Create app role] to open the following screen:
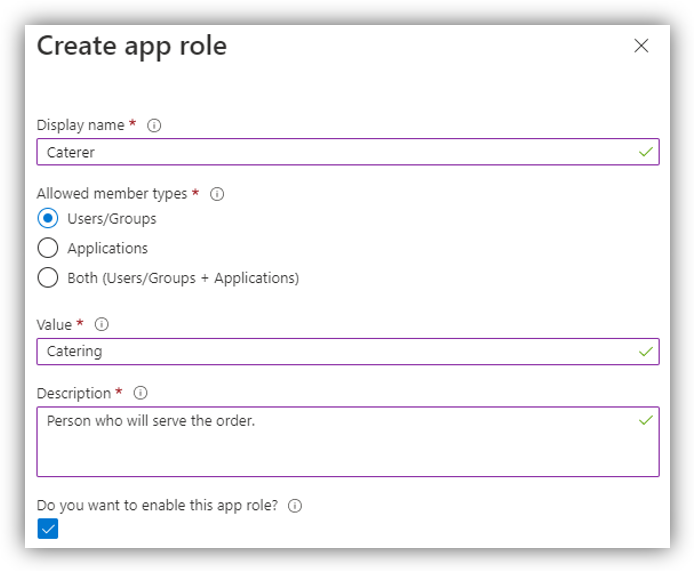
Here, fill in the following fields:
1. Display name: enter a role name which will be displayed on Azure.
2. Allowed member types: select Users/Groups.
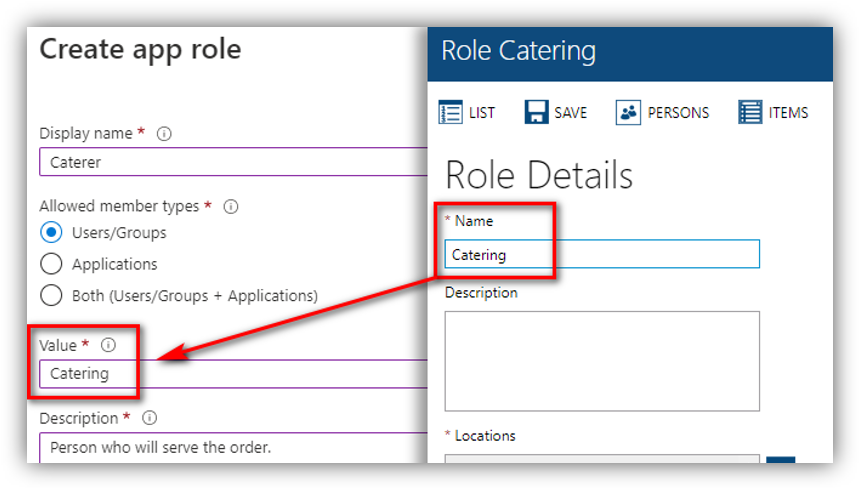
3. Value: fill in this field with the Name of the respective Role in Resource Central. E.g.:
4. Description: enter a description of the role.
5. Do you want to enable this app role: make sure that it is checked.
Click [Apply] to create the role. Repeat the same steps to create other app roles. The result should look similar as follows:
Assign App Roles to Azure users
Go to Azure Portal ➔ Azure Active Directory ➔ Enterprise applications, then go to All applications:
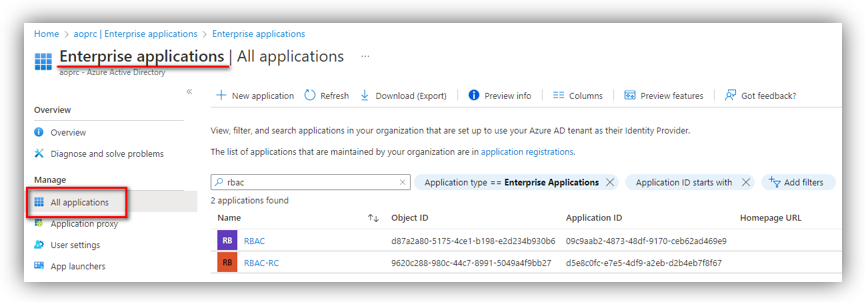
Here, search for the Azure app that you have configured app roles, open it, and go to Users and groups:
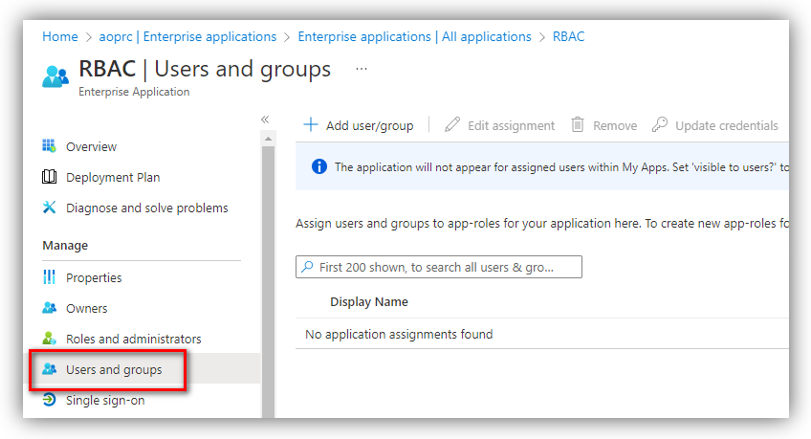
Click [Add user/group] to open Add Assignment where you can add users to the app and give them app roles:
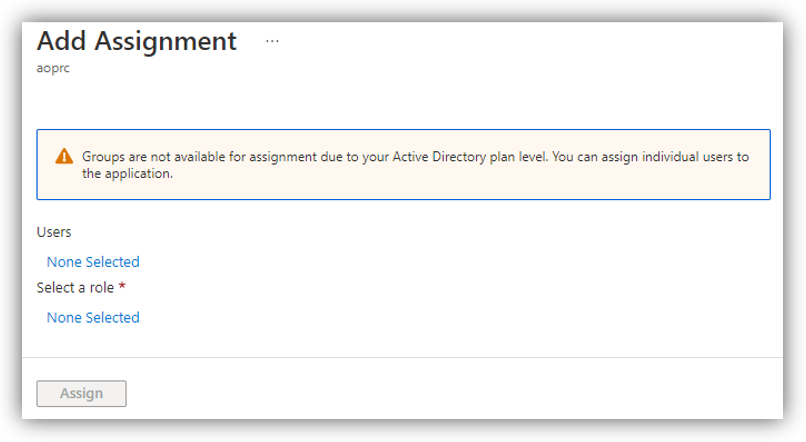
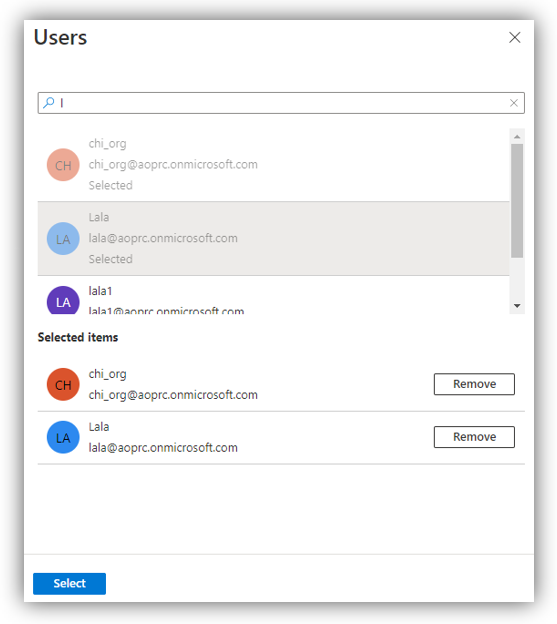
If no user nor role selected, the screen will show ’None Selected’. First, click on the text at Users to search and add Azure users:
Next, select a role for the selected users above:
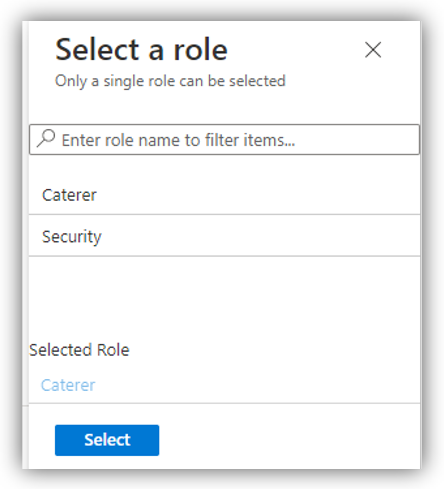
NOTE: You can only assign one role for a group of users at a time.
When you have assigned users and a role, click [Assign] on ’Add Assignment’ screen. You will see the users added with the app role on ’Users and groups,’ e.g.:
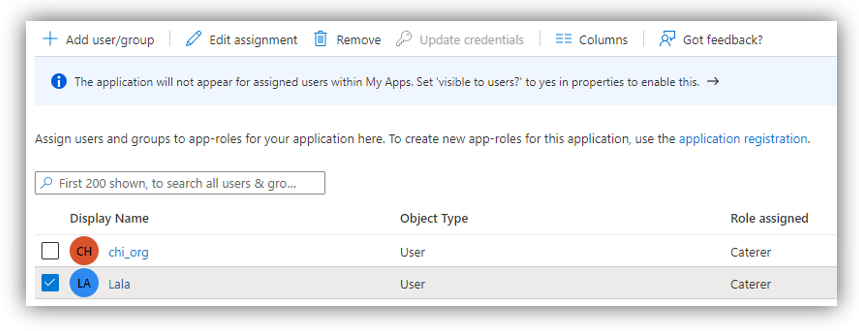
Repeat the same method to add other users with different app roles.
The Azure app configuration for RBAC is now finished.
If you want to edit the users’ app role, select the users and click [Edit assignment], which will open the Add Assignment screen as described above.
Properties
Applies to: RC 4.3+
Reference: TFS #339238
Knowledge base ID: 0325
Last updated: Jun 13, 2023
Anh Bach Duy
Comments